Step 1
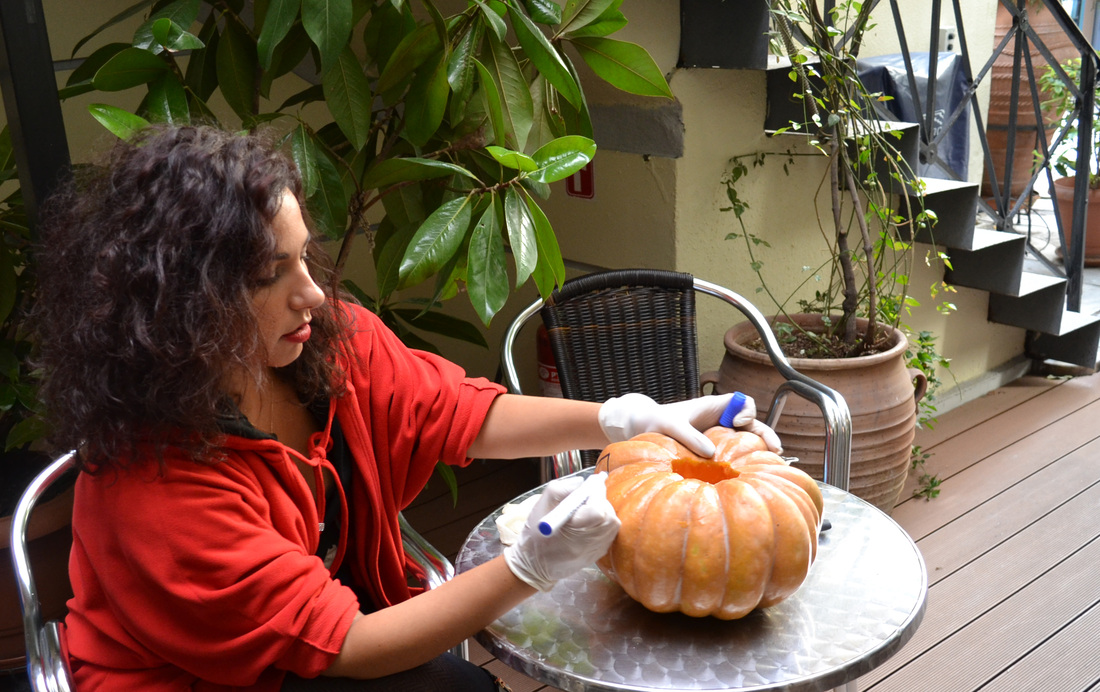
Cut a Hole in the Pumpkin.
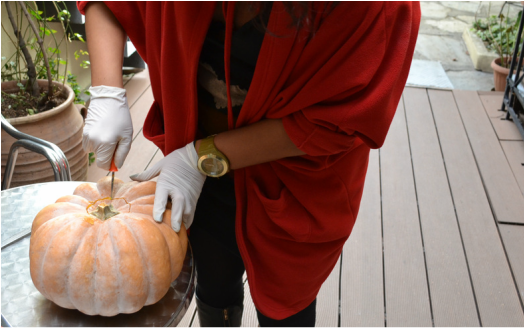
The first step is hollowing out the pumpkin. Use a keyhole saw to cut the hole. If you'll be using a candle for illumination, you can cut the hole in the pumpkin's top (always put the candle in a high-sided glass, and never leave unattended). For electric lights, make the hole in the bottom or side so you can hide the cord.
The first step is hollowing out the pumpkin. Use a keyhole saw to cut the hole. If you'll be using a candle for illumination, you can cut the hole in the pumpkin's top (always put the candle in a high-sided glass, and never leave unattended). For electric lights, make the hole in the bottom or side so you can hide the cord.
Step 2
Scoop Out the Flesh
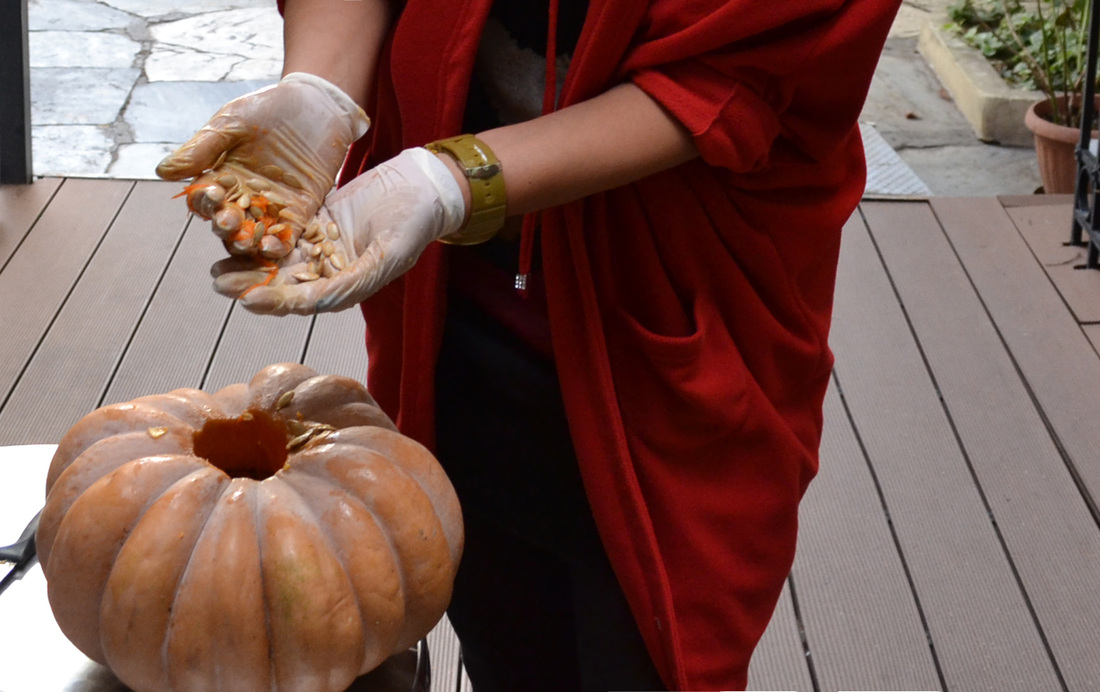
Scoop out flesh, pulp, and seeds with a plaster scraper.
Scoop out flesh, pulp, and seeds with a plaster scraper.
Step 3
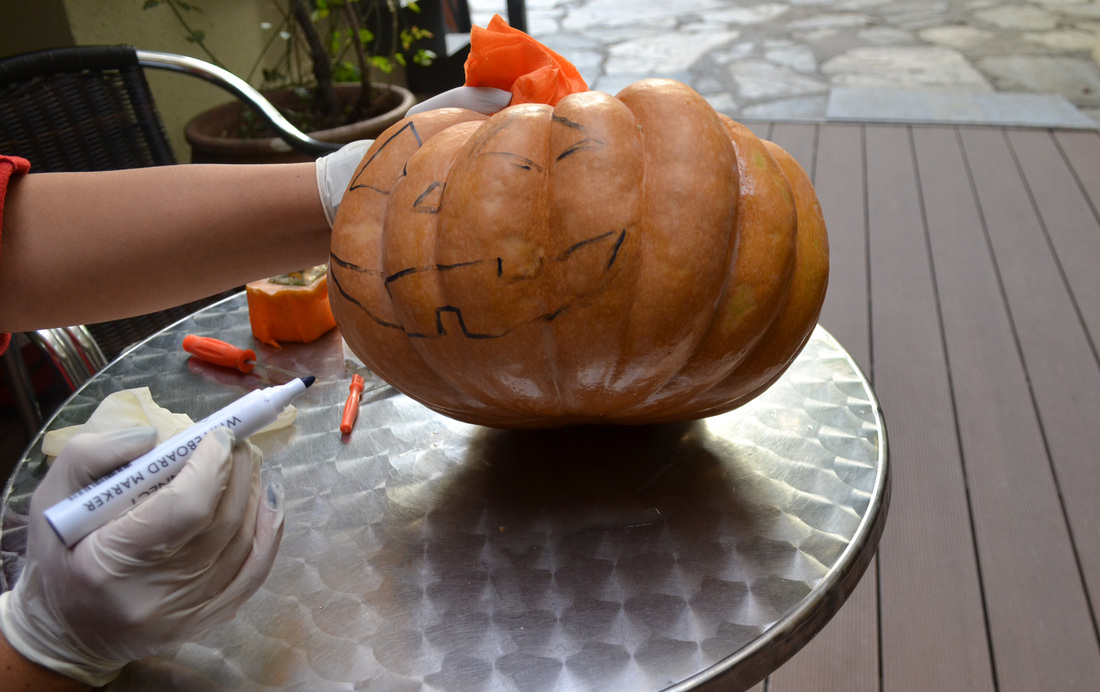
Draw Your Design
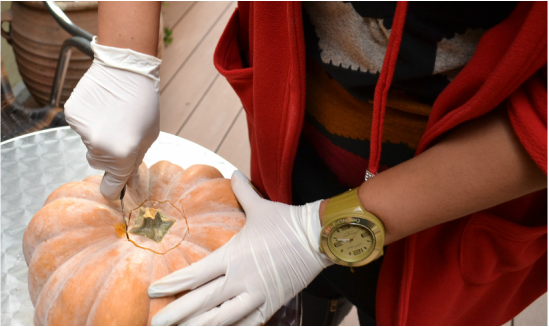
Now it's time to draw or transfer your selected designs (use one of the following pumpkin templates or draw your own). Affix it to the pumpkin, and trace the design by poking holes with a sharp awl, or T-pin.
Now it's time to draw or transfer your selected designs (use one of the following pumpkin templates or draw your own). Affix it to the pumpkin, and trace the design by poking holes with a sharp awl, or T-pin.
Step 4
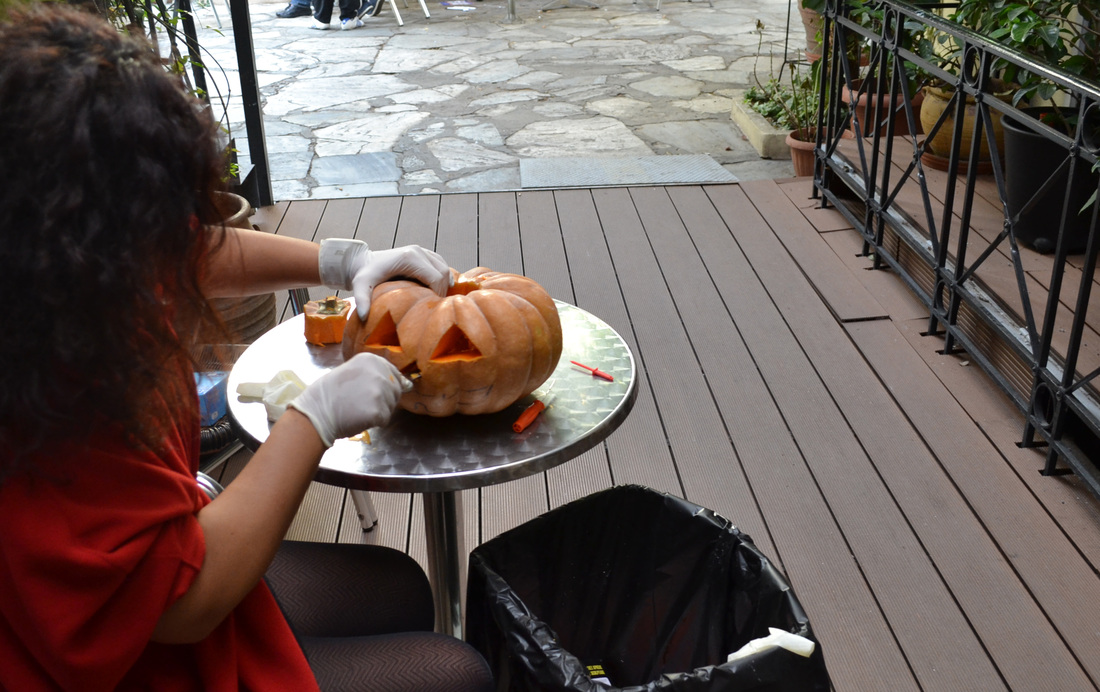
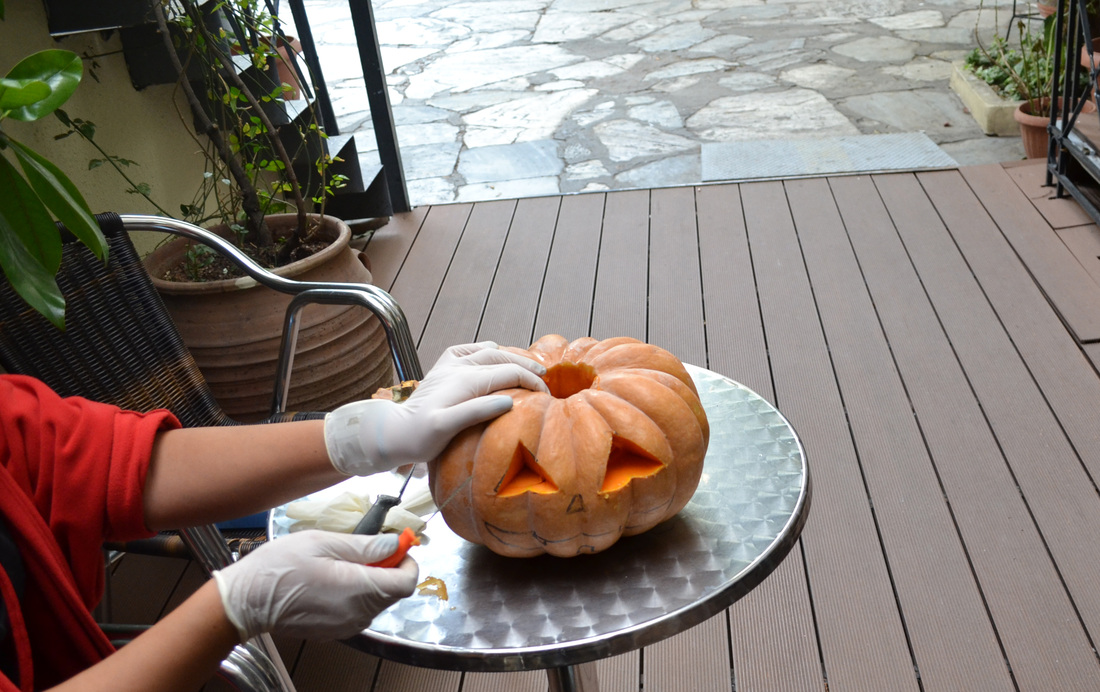
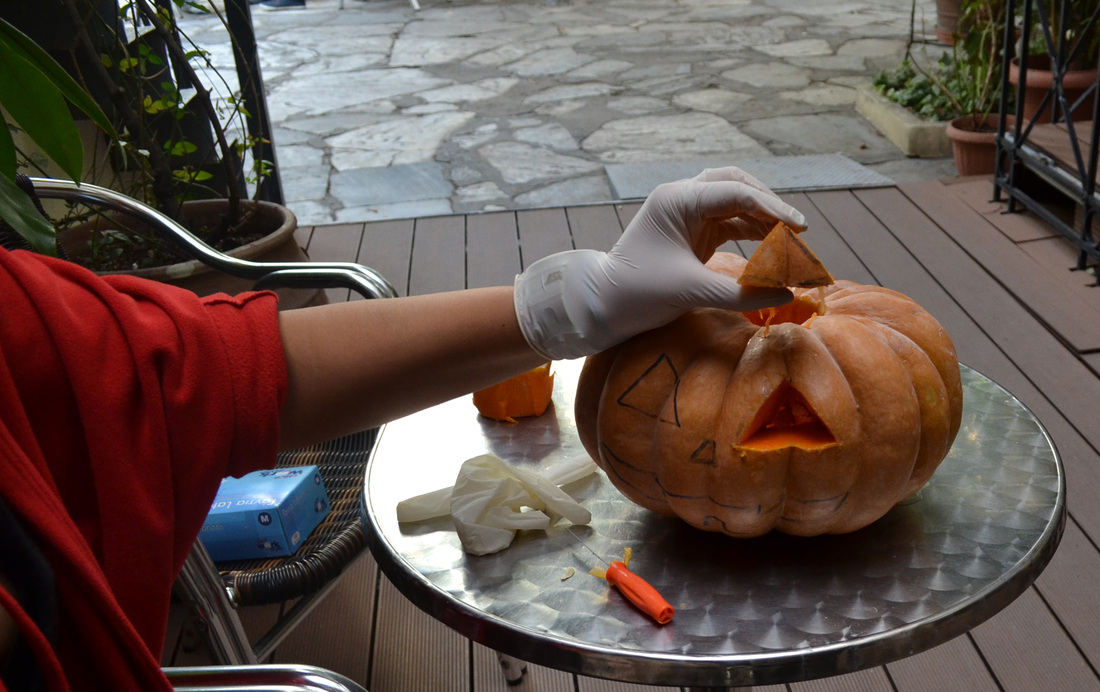
Carve the Features
Remove the template if used and carve along the pattern with a knife or linoleum carving tool. If you want to make holes in the pumpkin for eyes, use a drill equipped with a 1/2-inch or 3/4-inch spade bit.
Remove the template if used and carve along the pattern with a knife or linoleum carving tool. If you want to make holes in the pumpkin for eyes, use a drill equipped with a 1/2-inch or 3/4-inch spade bit.
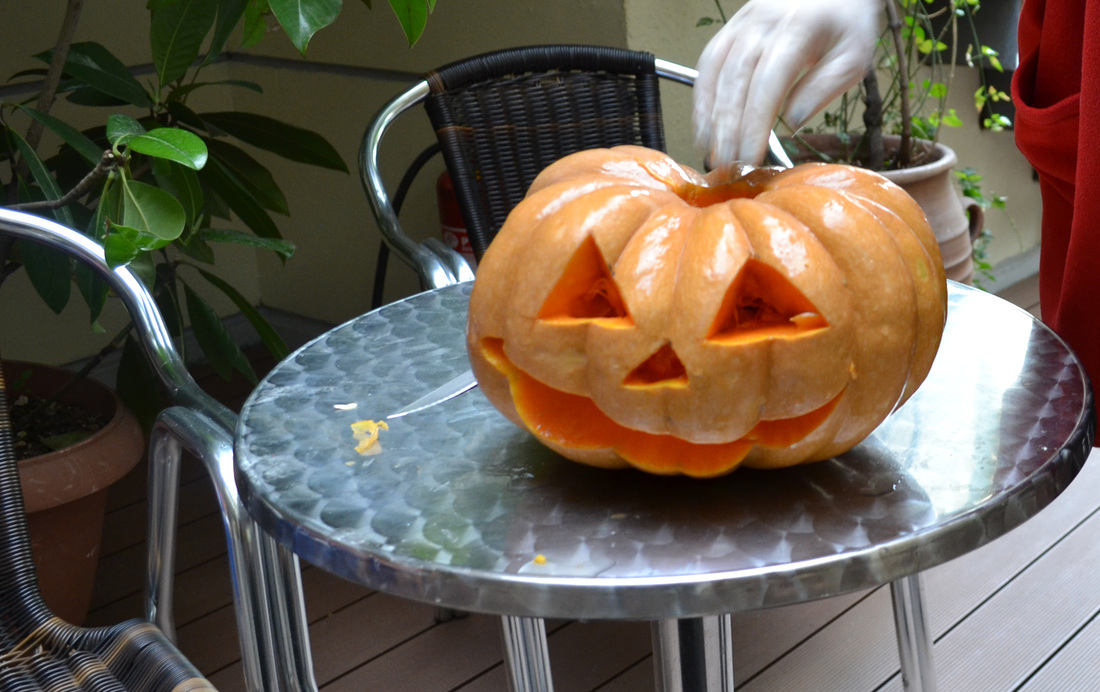
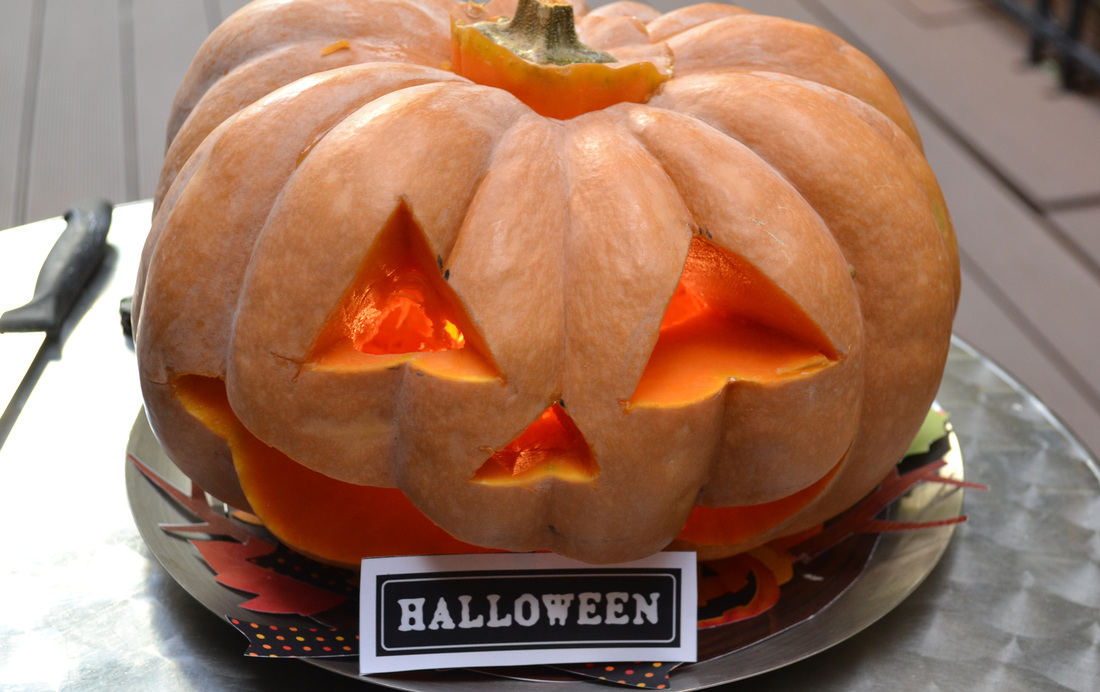
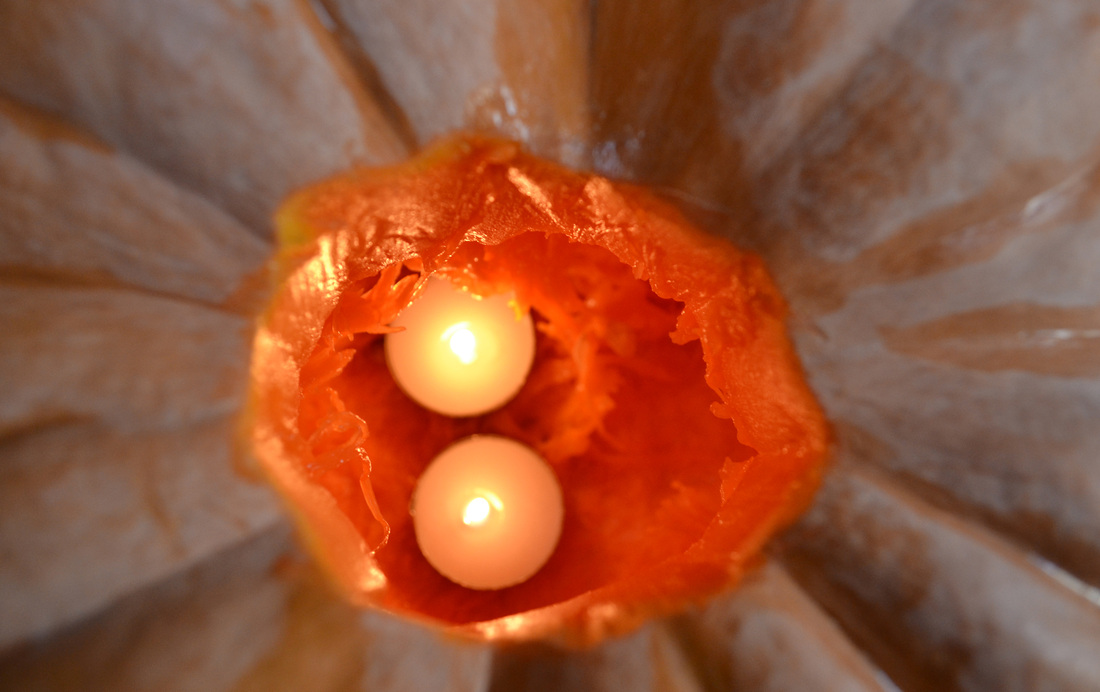
Step 5
If desired, place candles, small flashlights, or battery-operated light sources inside your pumpkin.
Tip: Prevent exposed areas of the pumpkin's flesh from turning brown by applying a film of Vaseline.
Tip: Prevent exposed areas of the pumpkin's flesh from turning brown by applying a film of Vaseline.

 RSS Feed